
How to Do an Agar to Agar Transfer for Mushroom Cultivation
- Harold Evans

- Sep 15, 2025
- 3 min read
Updated: Mar 6
Agar transfers are a cornerstone of mushroom cultivation and one of those techniques that looks more intimidating than it is. With a steady hand and a clean approach, you can move healthy mycelium to a fresh plate in minutes. Building cleaner, stronger cultures one transfer at a time.
Why Transfers Matter
Refresh cultures: Agar has a finite lifespan. Mycelium will eventually exhaust the nutrients in a plate or begin to dry out. Regular transfers keep your cultures active and viable.
Clean up mycelium: If contamination appears on a plate, a transfer lets you move healthy growth away from the problem, as long as you catch it early enough. Transfers are also how you begin isolating sectors with desirable characteristics.
Multiply plates: One healthy plate can become many. Building a library of clean cultures gives you a reliable starting point for every future grow.
What You’ll Need
Agar plates with healthy mycelium
Fresh plate to transfer onto
Scalpel or blade
Parafilm or grafting tape to seal plates afterward
Gloves
Butane torch or alcohol lamp for flame sterilization between transfers
Step-by-Step: Agar Transfers
1. Flame Sterilize Your Scalpel
Before you begin, heat the blade of your scalpel with a butane torch until it glows. Allow it to air cool before touching agar. A hot blade will melt straight through your plate. If you're impatient, dipping the tip briefly into a clean, mycelium-free spot on the agar will cool it down faster. You only need to re-sterilize between transfers to different plates or varieties, not between every cut on the same plate.
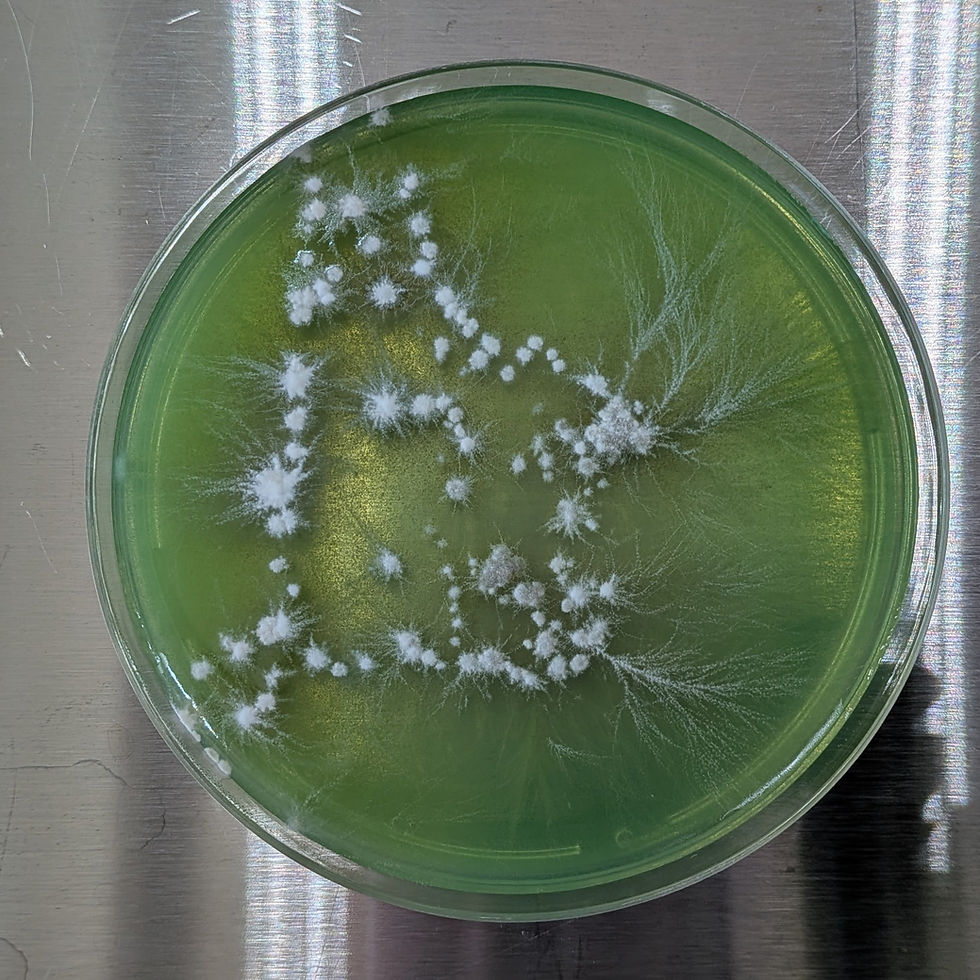
2. Identify the Growth You Want
Look for clean, healthy mycelium at the leading edge of growth. This is the most actively growing part of the culture and the furthest from any potential contamination at the center. If you're working with a contaminated plate, select growth that is as far from the problem as possible and work quickly.
3. Make the Cut
Use your scalpel to cut a small triangular wedge of agar beneath the target mycelium. The triangular cut is efficient. It minimizes the number of times your blade contacts the agar and gives you a clean piece to work with.
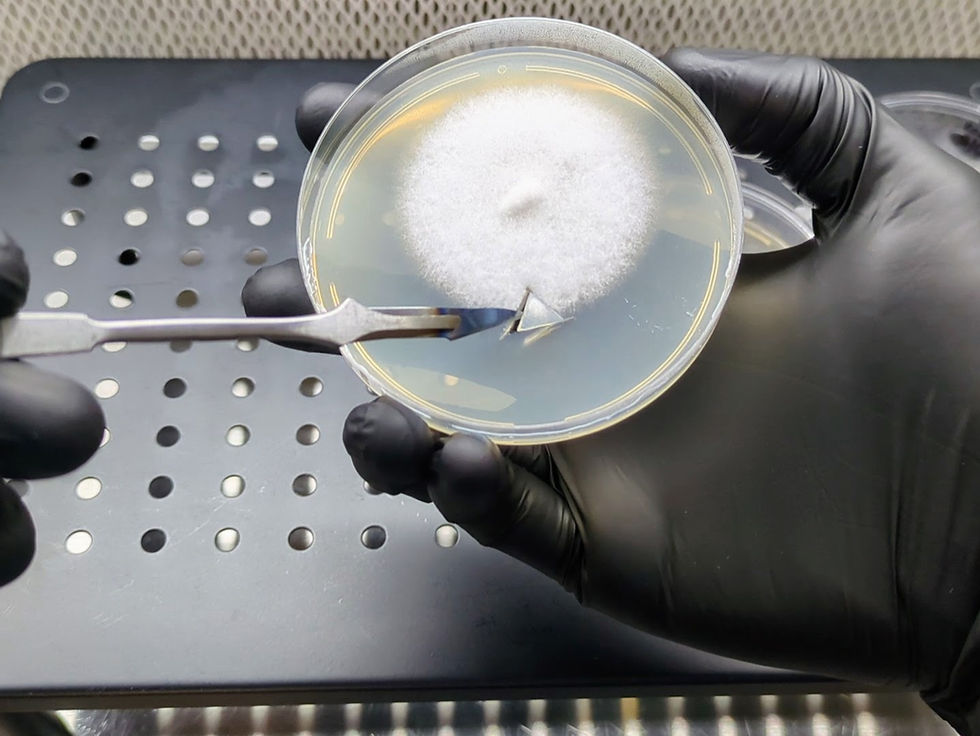
4. Lift and Transfer
Gently lift the wedge with the tip of your scalpel and move it to a fresh plate. Place it flat against the surface with the mycelium side facing down. Keeping this consistent builds good habit and removes one more decision point when you're working quickly under a flow hood.

5. Seal the Plate
Close the lid and wrap the plate with Parafilm to keep it clean.
A Note on Sterile Technique
Agar work requires a still air box or laminar flow hood. This is not optional. Plates are open during transfers and even brief exposure to unfiltered air introduces contamination risk. If you don't have one yet, we cover exactly how to build one in our still air box guide before you get started.
The more transfers you do, the more natural the process becomes. Technique is built through repetition, not overthinking.
Conclusion
Agar transfers are one of those skills that feels like a barrier until you've done it a few times. Then it becomes routine. Clean technique, a sharp blade, and a reliable sterile environment are all you need. The rest is repetition.
Every transfer is an opportunity to select for stronger, cleaner growth. Over time that compounds, and so does your confidence in the process.
Ready to Practice Transfers?
Agar work is all about repetition. The more transfers you do, the cleaner your technique becomes - and the better your cultures get.


Comments